Ingredients
- Scribus (yum install scribus)
- Inkscape (yum install inkscape)
- A finished design (SVG format) you'd like to make into a CMYK design
Introduction
RGB is a type of color model used by computer displays. It involves adding red, green, and blue light together in different combinations to form different colors. For example, adding red, green, and blue all together forms white - it is an additive color model because the more colors you add together the closer you get to white. Adding red and blue together forms magenta. Read more about RGB on Wikipedia.
CMYK is a different color model used quite often in printing processes. Rather than being an additive model like RGB, it's a subtractive color model, meaning the more colors you add together, the closer you get to black. CMYK stands for Cyan, Magenta, Yellow, and blacK, the four ink colors used to produce a range of colors.
Converting between RGB and CMYK is hard. In the past, the Fedora project has tried sending items to the printer in RGB colorspace. For Fedora 7, this resulted in CD labels that were a dark purple rather than the Fedora blue we know and love. Wait, why did this happen?
Well, some of the best graphic tools in the free & open source software world do not support CMYK color. This includes Inkscape and Gimp. However, Scribus, the pre-press page layout program, does support CMYK. It also supports SVG, so we'll be prepping our SVG in Inkscape, then importing it into Scribus to set the CMYK colors.
In summary: Following this tutorial will enable you to take an existing file designed in Inkscape in SVG format and produce a CMYK-friendly PDF so that when you send your design to the printers, Fedora blue won't come out purple! :)
Steps
Step 1: Prep the file in Inkscape for import into Scribus
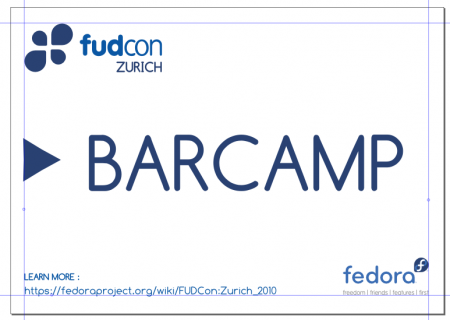
The first thing we'll need to do is open up the SVG file in Inkscape:
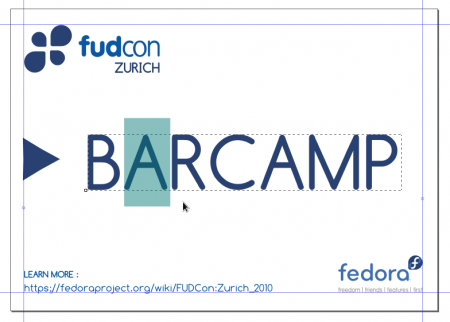
Click around using the node tool (![]() ) on the text in the poster design. Notice how blocks of text have only a dashed black line around them, and that you can't highlight individual letters? Click on the text using the text tool (
) on the text in the poster design. Notice how blocks of text have only a dashed black line around them, and that you can't highlight individual letters? Click on the text using the text tool (![]() ). Now see how you can erase and add additional letters?
). Now see how you can erase and add additional letters?
Your text is editable. This means the file is storing the text as text and using a font to display them. You'll want to convert all this text to paths to ensure the file will look exactly as designed when it's printed out. If you don't, it's likely that the printers will not have the same font and some weird abitrary font will be used, making your design look pretty different.
Luckily, this is an easy step:
- In Inkscape, hit Ctrl-A or go to "Edit > Select All" in the menus
- While all the items on the canvas are selected, go to "Path > Object to Path" in the menus.
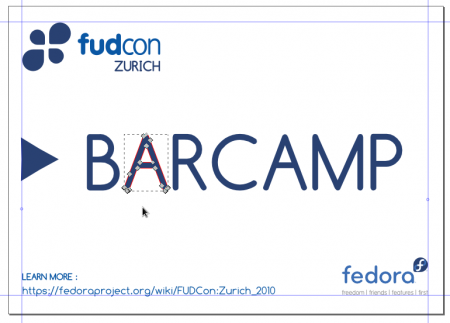
Now try clicking on a letter in the text with the node tool (![]() ). It should now look like a path shape with nodes:
). It should now look like a path shape with nodes:
Save your file out, in my case I append a "_paths.svg" to the file name so if I need to go back later and change the text using fonts I can. I recommend you do the same!


